
Start with a document you can actually send. The first run gives you a 14-day Pro trial; after that, Free mode remains available.
1. Install InkSmith
Open the download page and choose an installer available for your computer. The page lists Windows and Linux desktop options and marks unpublished installers unavailable. Follow the installer prompts, then launch the desktop app.
Edition note: The trial lets you explore Pro features. Your documents and templates remain in place when the trial ends.
2. Choose a starting point
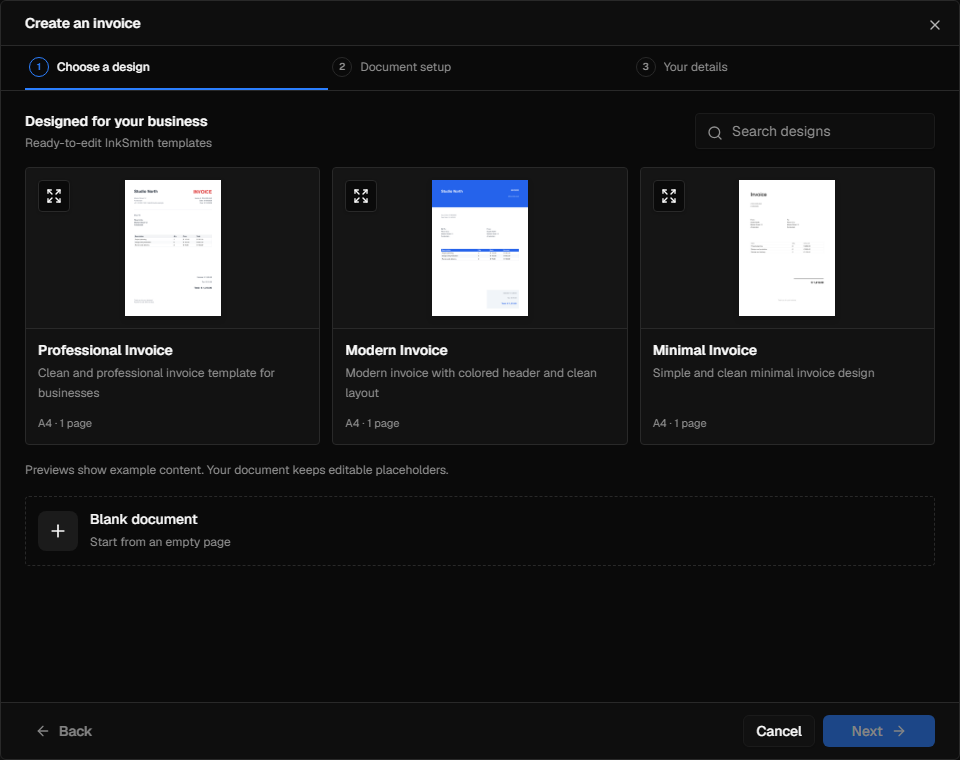
On the home screen, choose Create new document. Pick a built-in invoice, letter, brochure, or other design, or start with a blank page. A template is a starting layout: you can move and edit its elements.
Use the visual editor to add text, images, shapes, tables, and pages. The Properties panel changes the selected element; the Layers panel helps you select and order objects.
3. Save a portable template
Choose File → Save. InkSmith saves a portable .inks package containing the template, placed assets, and the font faces needed to render it. If a required font cannot be packaged, the app reports what needs to be resolved rather than silently changing the design.
A saved template can be reopened and adapted. If you want to reuse one layout with many records, continue with data and mail merge.
4. Preview and export
Open Preview to inspect the pages at a useful size, then choose Export PDF. Review the output before sending or printing it. Free mode can export the first two pages in draft RGB with a small InkSmith Free footer; paid editions expand the production options.
Next steps
- Explore the editor for layout, selection, and shortcuts.
- Use the template library to build a reusable starting point.
- Import an existing PDF or IDML design when you already have source material.